
Days 7 – 11: A windy oopsie; culverts; and tons of cement
I’m definitely losing track of the days here because it doesn’t seem like everything I’m doing should count as a work day.
For example, I had 3 big solar panels on the roof of my RV that were just sitting up there because A) they’re heavy; B) I hadn’t gotten to mounting them yet; and C) They were only hanging over the edge a couple inches – and that was on purpose because if they didn’t hang over, then they would be laying on and putting pressure on the power cords, which didn’t seem like a great solution.
Well, one particularly windy day ended up with this lovely spectacle:
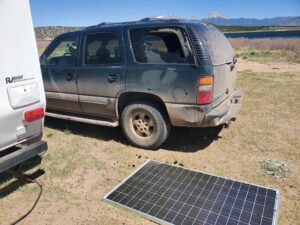
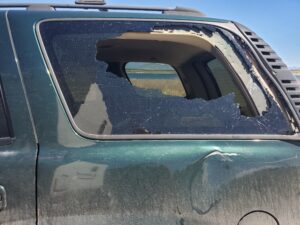
And I do say “spectacle” because it makes one’s vehicle looking rather … suspect.
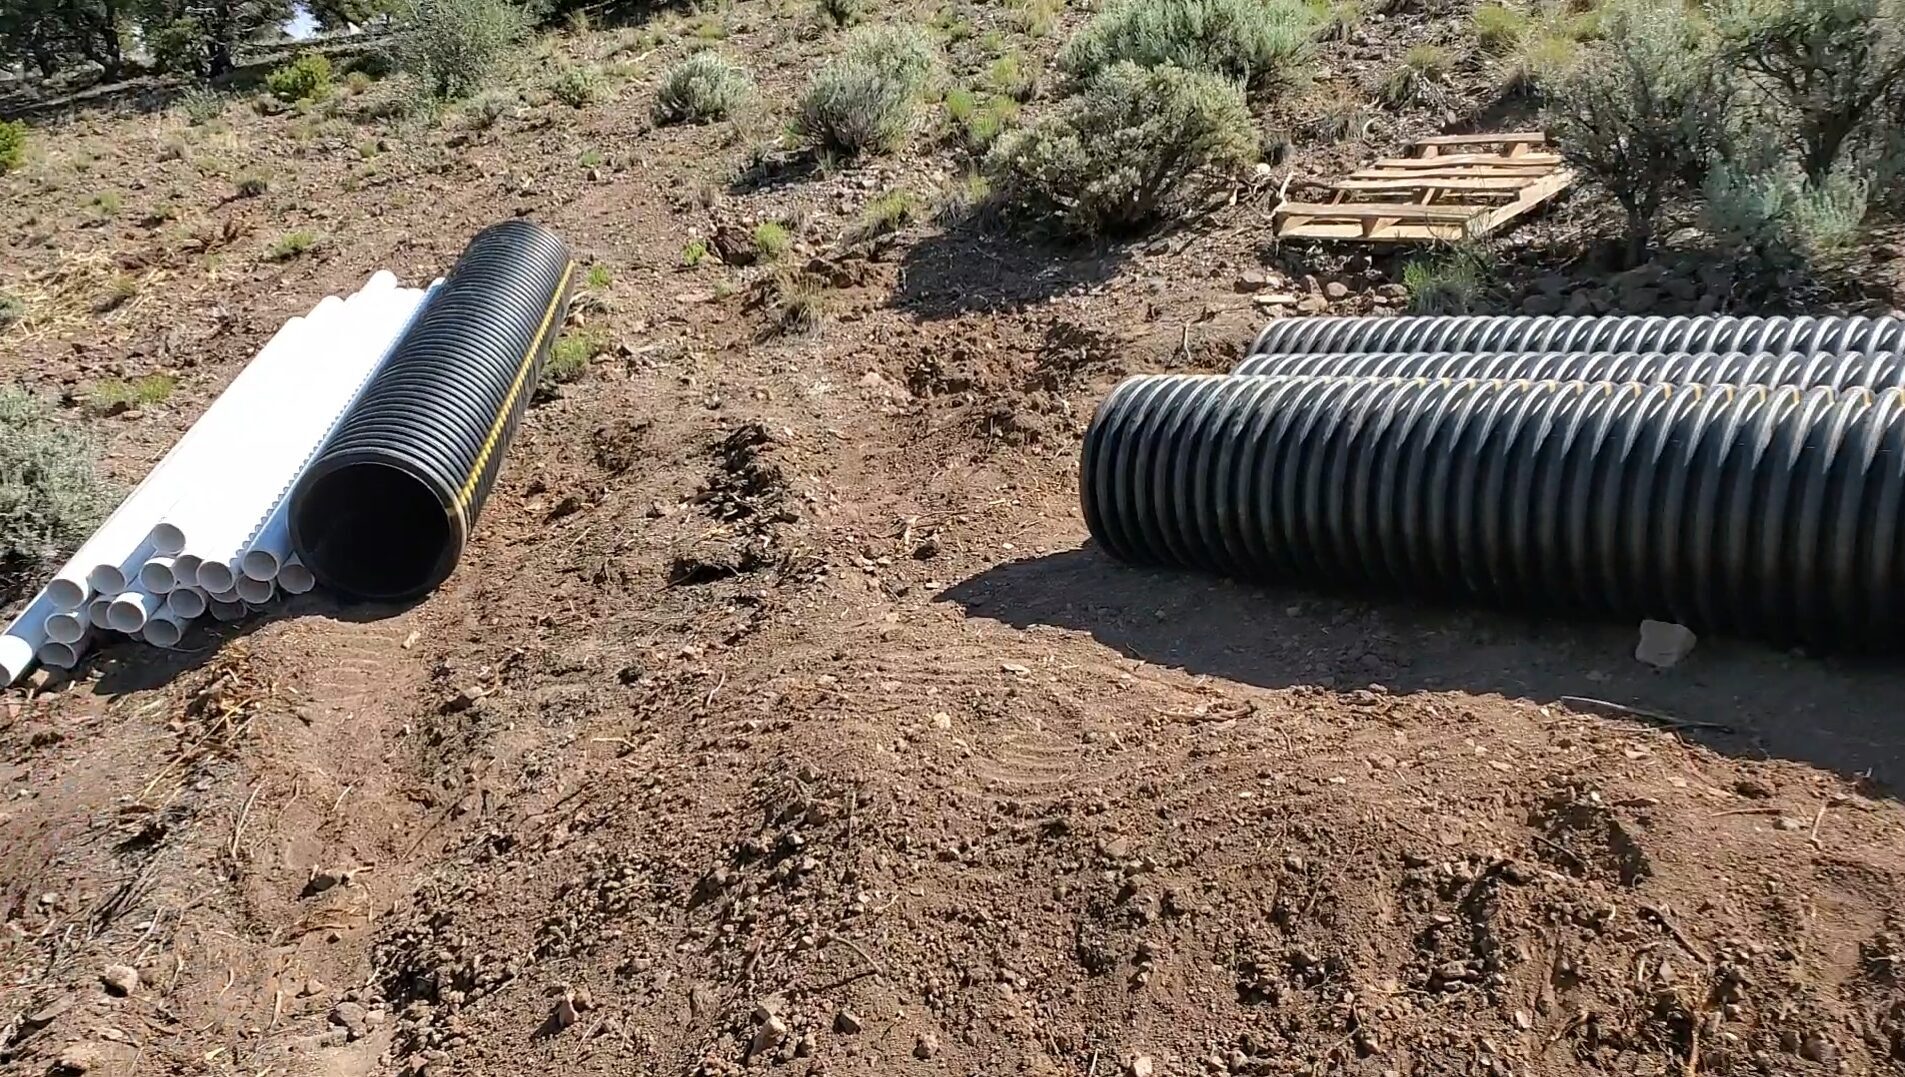
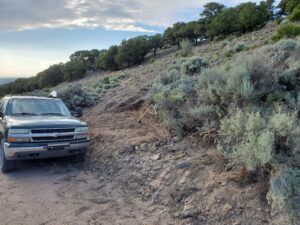
 My Shed
Turns out, those rear quarter panel windows are basically just glued in-place. So since all the local glass places were closed for the weekend by the time I got a replacement window from the local salvage yard (for $120), I hopped on YouTube to see how to do it, and after getting the supplies I needed, which cost another $40 or so, I installed it myself!
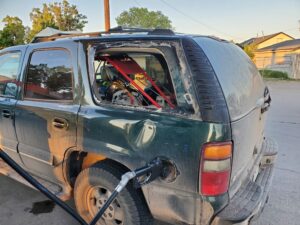
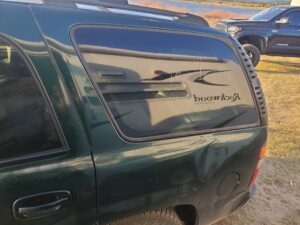 All better now – except for the large dent that pretty much blends in with the others
So then another day, I was on the hunt for a tiller because I intend on using soil-cement to stabilize and strengthen the soil for the culverts at the driveway entrance and the driveway itself.
Soil-cement is a 10:1 mixture of soil to cement:
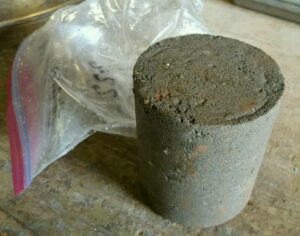
And you normally till up the first 4 inches of dirt; apply 0.25 – 0.5 inches of dry Portland cement powder on top; moisten it; till again to mix the two together; tamp it down firm, and then lightly spray with water over the next few days so that it dries at a slow pace, which avoids cracking.
It’s roughly 10x cheaper than cement – though of course not as strong – but on the other hand is much more solid and stable than just dirt.
Thing is though, in a sparsely-populated valley like the one I’m in, if you want deals on used equipment, then you’ll probably have to drive a while to get to them, and sometimes it’s far enough to cancel out any potential cost-savings.
But tillers are expensive! They easily run in the $600 – $1,000 range, with some costing several thousand!
So I figured it was worthwhile to make a 3-hour drive to go get one that’s a self-propelled, rear-tine tiller for what ended up being $100 + about $75 in gas. (Some tillers have the tines in the front, but the consensus is that it’s better if they are in the rear, with the self-propelled tires pulling them forward.)
Actually, those are the red bars that you see in my ‘shed’ picture above.
Well, after driving all that way, come to find out that it leaks gas, and the starter cord broke as the guy was demonstrating that it works. So it went from $150 to $100, and the part that the guy theorized was the issue behind the gas leak – which is a ‘float’ inside the carburetor, which is a little plastic flange that gets corroded and sticks, which causes gas to leak out – was only about $10.
I haven’t installed it yet, and I don’t know hardly anything about small engine repair, but most people seem to agree that it’s pretty basic stuff. So that’s another little item on my to-do list, but I wasn’t about to turn around and head back empty-handed!
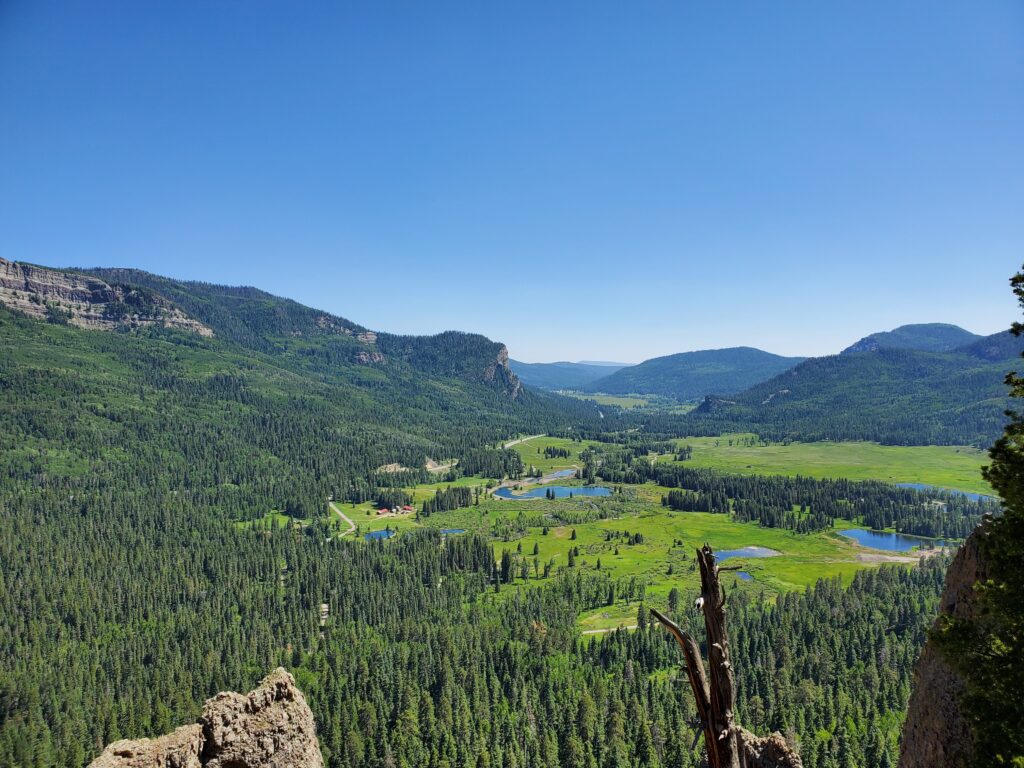
On the plus-side, I stopped at a scenic lookout along the way, and got this amazing view:
Anyway, I also drove 4.5 hours each way just to go to the nearest Menards, which is in Garden City, Kansas.
“WHY,” you may ask?
Because these culverts – which the road department said needed to be a mammoth 18″ in diameter – run between $700 – $900 per 20-foot section around here, and I think I’ll need 30-40 feet for a very wide driveway apron so that vehicles coming from either direction can enter diagonally instead of straight in.
And Menards was selling them for $311 each! So I threw in some other supplies since I had lots of extra room to spare in the U-Haul trailer I rented – like twenty four 10-foot sections of this special kind of PVC pipe for the septic drain lines which was literally half the price I could get it for locally.
So in total, that trip saved me about $1,150 even after the gas and the trailer rental. So that’s compensation of about $127/hr for my drive. Not too shabby, eh?!
And that’s not all!
When I went to Pueblo recently to get some lab work done, I figured I’d capitalize on the gas money already being spent by buying as much cement as I could haul back with me in the Tahoe.
After looking it up, I found that it can carry around 1,700 lbs of cargo in the back, so I loaded up 34 fifty-pound bags of cement:
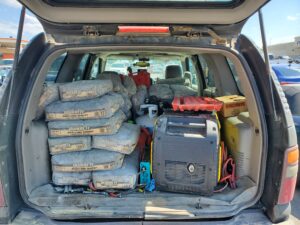
So in total, I’ve moved 3500 lbs of cement in the last few days!
And not only that, but because I don’t have a driveway yet, and because theft of building supplies is an issue in my area, I decided to carry every single one of those 24 pipes and 4 culverts (which are about 80lbs each) up that 200-foot hill – by hand – so that they’d be out of sight. Well ok, I rolled the culverts up, but still.
Needless to say, by the time I got done with all that, I was feeling rather weak in the knees.
On the plus side though, I can tell that my body is slowly acclimating, and in fact, it seemed like a promising sign that, for once, my breathing wasn’t my limiting factor; my muscles were.
Oh yeah, and did I mention that I had previously started digging the slant out of the drive with my pickaxe? After 3 hours of nearly nonstop pickaxing, I had leveled out about 20 feet of the drive, though it’s a little hard to tell from this angle:
I stopped at the 3-hour mark because my body was clearly telling me that it had reached its limit, but at that rate, I figured I could have the whole drive leveled from side to side in about 9 more days….assuming my back would tolerate that every day, back-to-back for 9 more days.
But I also need to cut that embankment by the road back a bit so that the culvert will fit in the drainage area properly – which you can see a little better from this angle…
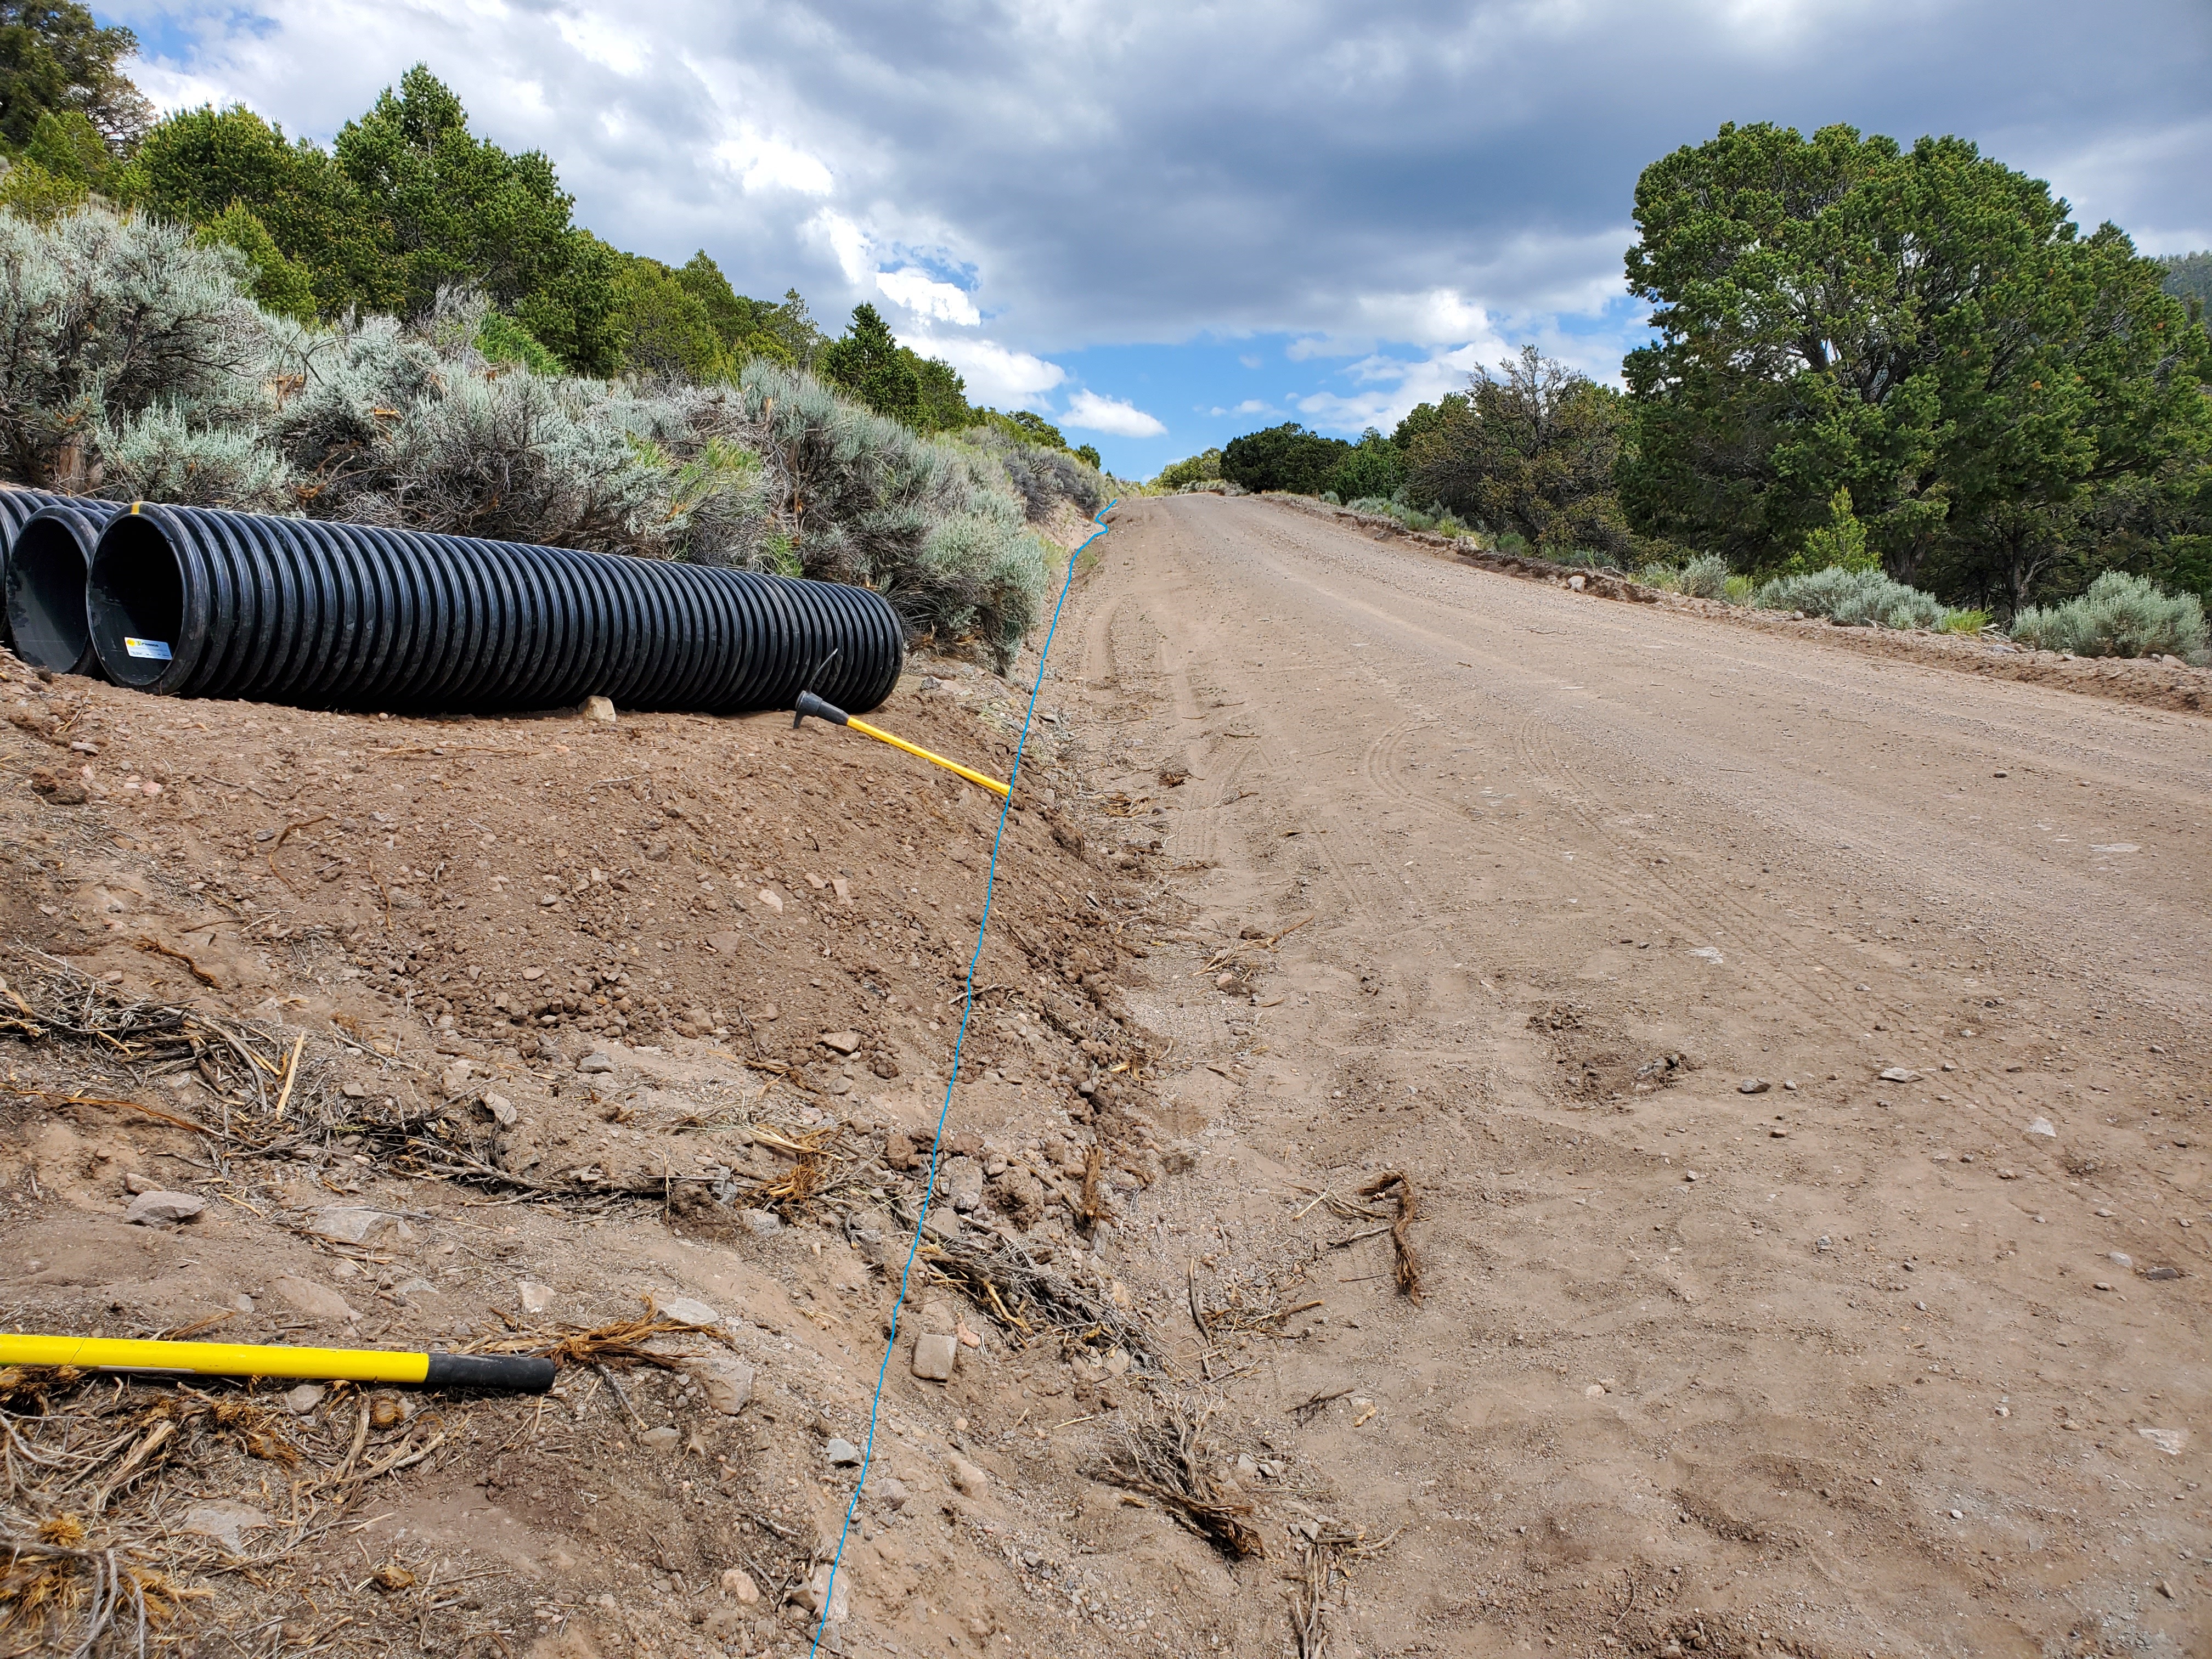
The ground also needs to be cut down into a bit as well so that the water flows through the culvert instead of under it.
So because I also have leveling to do on the actual build site, as well as clearing a 20′ x 88′ area for the septic drain field to go in, I’ve opted to rent a track skidsteer to help move things along.
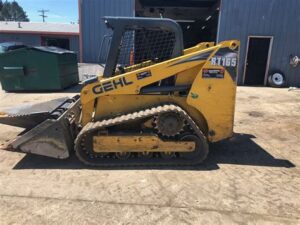 A track skidsteer: The track gives it better traction and more stability
So that’s where I’m at now. I’ll be going with my neighbor Brandon on Monday to pick the thing up since Brandon hauls things as a side-gig, and has a huge 40-foot flatbed and a more powerful truck that’s more capable at towing than my trusty Tahoe.
That is, the skidsteer is between 7k and 10k pounds, and the trailer it’d go on would be about 2k pounds or so. And my Tahoe is rated to tow a maximum of 10k – which would reeeeally be pushing it – and the stock hitch that came with it is only rated to pull up to 7,500 pounds anyway.
So rather than push the thing too hard, I’ve opted to pay Brandon $320 to go get the thing – 42 miles away – load it onto his trailer, bring it back to my property, and then pick it up again and take it back a couple days later.
These are the kinds of expenses I didn’t forecast. I mean, I saw what rentals would be, but I didn’t realize the drive would need leveled at all, and I didn’t consider that my Tahoe can’t just tow everything or that delivery charges would be so much.
Even the $320 is a good deal compared to one rental place that was going to charge me about $550 for the same thing – minus the convenience of Brandon and Grace helping to shuffle my Tahoe over to the property so that I’m not without it during the 2 days that I’ll have the skidsteer.
In the meantime, they invited me to a “mountain party” at noon tomorrow, which is basically just a bunch of people from the area mingling and socializing. So I’m looking forward to that.
It was nice to have today off too so that I could get caught up on running some errands, and updating this blog!
Anyway, that’s all for now. Until next time…
Oh Tim… I’m constantly amazed by you!
Thank you, Mom! Your amazement is a great compliment 🙂